Crispy on the outside. Tender & chewy on the inside. This easy Yaki Onigiri recipe will make your reimagine leftovers – especially when it fits in the palm of your hands! Have them hit your tastebuds in under 30 minutes.

🍙 What is Onigiri?
Onigiri is a popular Japanese snack, also known as a Japanese rice ball. It’s made of rice in a triangle shape (or sometimes in a cylinder) with various onigiri fillings. Regular onigiri is often wrapped in nori (roasted seaweed), but since this Yaki Onigiri is grilled, you have a crisp golden crust that adds even more texture & flavor!
One of the biggest differences between onigiri and sushi is that onigiri made is made with plain rice, while sushi rice is seasoned with vinegar, salt, and sugar.
Quick and easy lunch idea that’s a great alternative to sandwiches. This Japanese grilled rice ball could be stuffed with a variety of fillings. For this Yaki Onigiri recipe, we’ll be using salmon, which can either be freshly seared, canned, or leftover salmon.
I’ve used it with leftover Salmon Teriyaki & Miso Salmon – oh. my. gosh – SO good!
If you want something even more filling on-the-go, pack up a quick Sesame Tuna Onigirazu or Spicy Vegetable Onigirazu that’s loaded with fresh crisp veggies! Or, if you’re looking to do Japanese takeout at home, serve your salmon onigiri with juicy Chicken Teriyaki to easily bolster your dinner in minutes!
❤️ Highlights
🥘 Yaki Onigiri Ingredients

- Rice: For this yummy Yaki Salmon Onigiri recipe, we’re going with short grain rice (ideally) or medium grain rice! These types of rice are stickier than perfect for making onigiri. Long grain rice or brown rice aren’t as sticky as short-grain rice so they’ll fall apart much easier (sadness). You can easily find some at your local Asian and Japanese supermarkets or online.
- Salmon: In case you needed it, this is your sign to use up that leftover salmon hanging out at the back of the fridge! Give it new life with these crispy Japanese fried rice balls. Well drained canned salmon works too!
- Japanese Mayo: Okay, let’s talk mayo! Once you’ve tasted Japanese mayo, there’s really no turning back! It’s extra rich, creamy, & with a subtle tang compared to American mayo. Trust me, it’s worth the extra effort of grabbing it from the store or online. Some local grocery stores are even starting to sell it in the Asian/International section. It’s THAT good, it’s slowly becoming a pantry staple!
- Soy Sauce: Now, to amp up the umami vibes, I like to give the filling a little bath in regular soy sauce (none of that low-sodium stuff, please). It brings in a fabulous combo of saltiness and umami goodness.
- Rice Vinegar: Just a splash balances the salt & creaminess in the filling.
- Sesame Oil: A little goes a long way for a deep, nutty flavor that’s an absolute must – trust 🙂
- Sriracha (optional): If you love spice, this is for you! Add a bit (or a lot if your spicy heart desires), it’s all your personal preference!
See recipe card for quantities.
📖 Variations & Substitutions
Make this Yaki Onigiri your own! Mix & match various fillings & swap out the seasoning sauce, or even omit the fillings for an even easier time-saving meal!
Here are a few ideas to spice up your yaki onigiri:
Onigiri Fillings
- Tuna onigiri
- Salmon onigiri
- Mentaiko (spicy cod roe)
- Furikake (sprinkled all over onigiri)
- Umeboshi (Japanese pickled plum)
- Okaka (shaved bonito flakes)
- Kambu (seaweed)
Yaki Onigiri Sauce
- Soy Sauce: This is the classic seasoning used for a delicious yaki onigiri.
- Teriyaki Sauce: Homemade or store-bought teriyaki sauce is a quick & easy option that adds a touch of sweetness.
- Miso Butter: When does butter not make things better?? Create a golden miso glaze for a salty umami kick.
- Unagi Sauce: It’s sweet, salty, & sticky for a absolutely delicious seasoning for your rice.
🔪 How to Make Onigiri

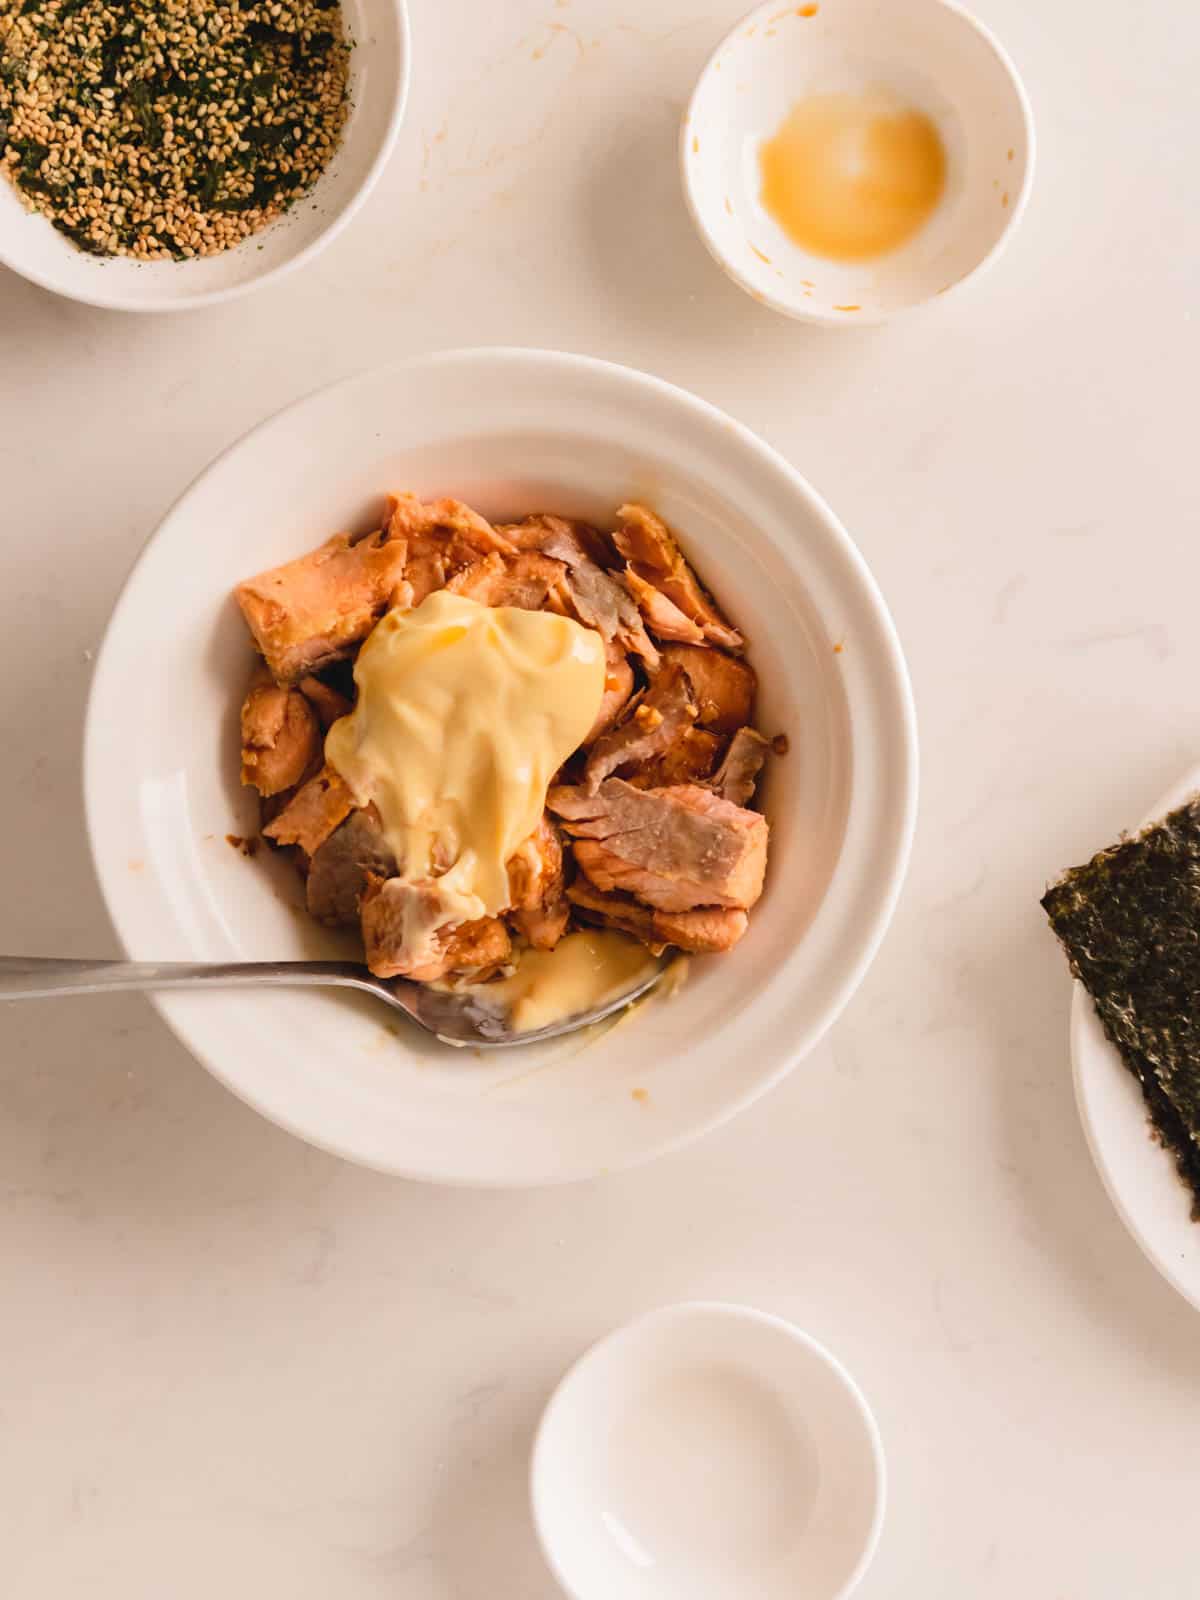
Step 1: In a small bowl, combine flaked salmon, Japanese mayo, soy sauce, sesame oil, rice vinegar, & sriracha (if using). Set aside.

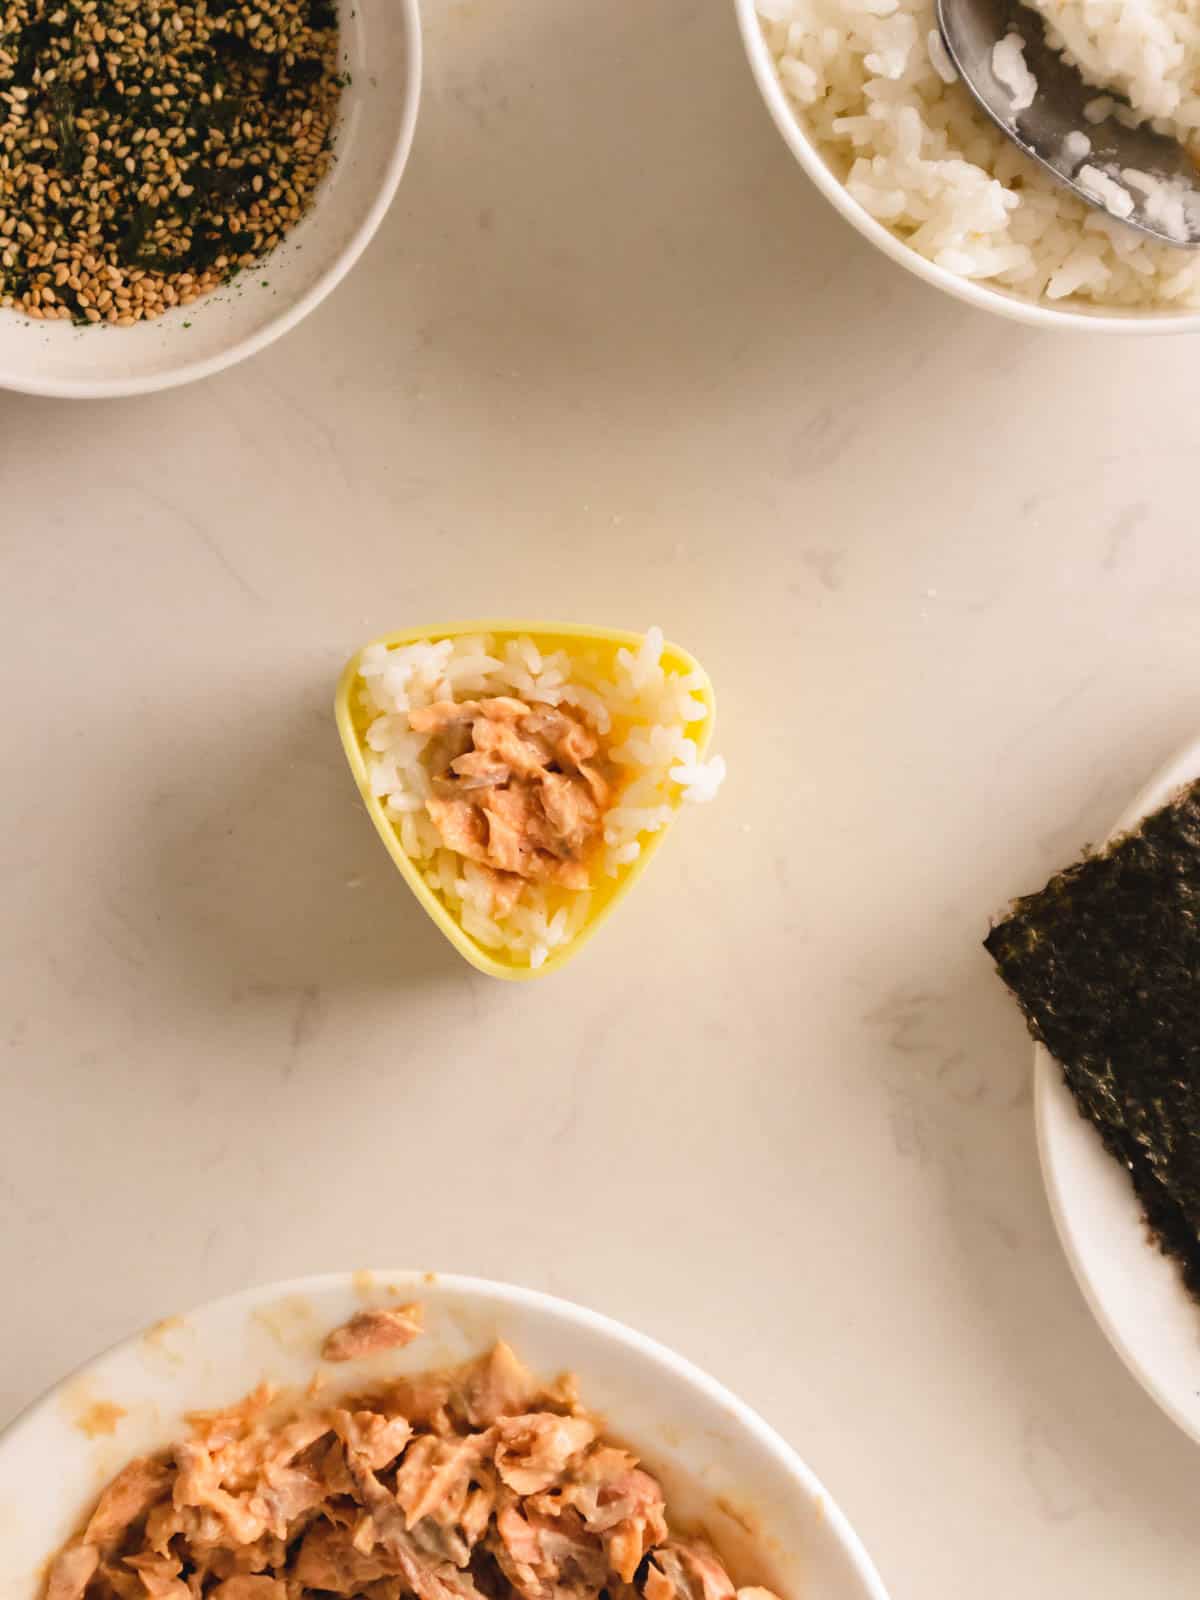
Step 2: Using an onigiri mold, fill about half the mold with your seasoned white rice with a small indent in the center. You can dip your hands/spoon in cold water to make the rice easier to handle.

Step 3: Spoon in about a tablespoon of your salmon filling in the center (exact amount will vary depending on size of onigiri mold), then cover it with a scoop of more rice.

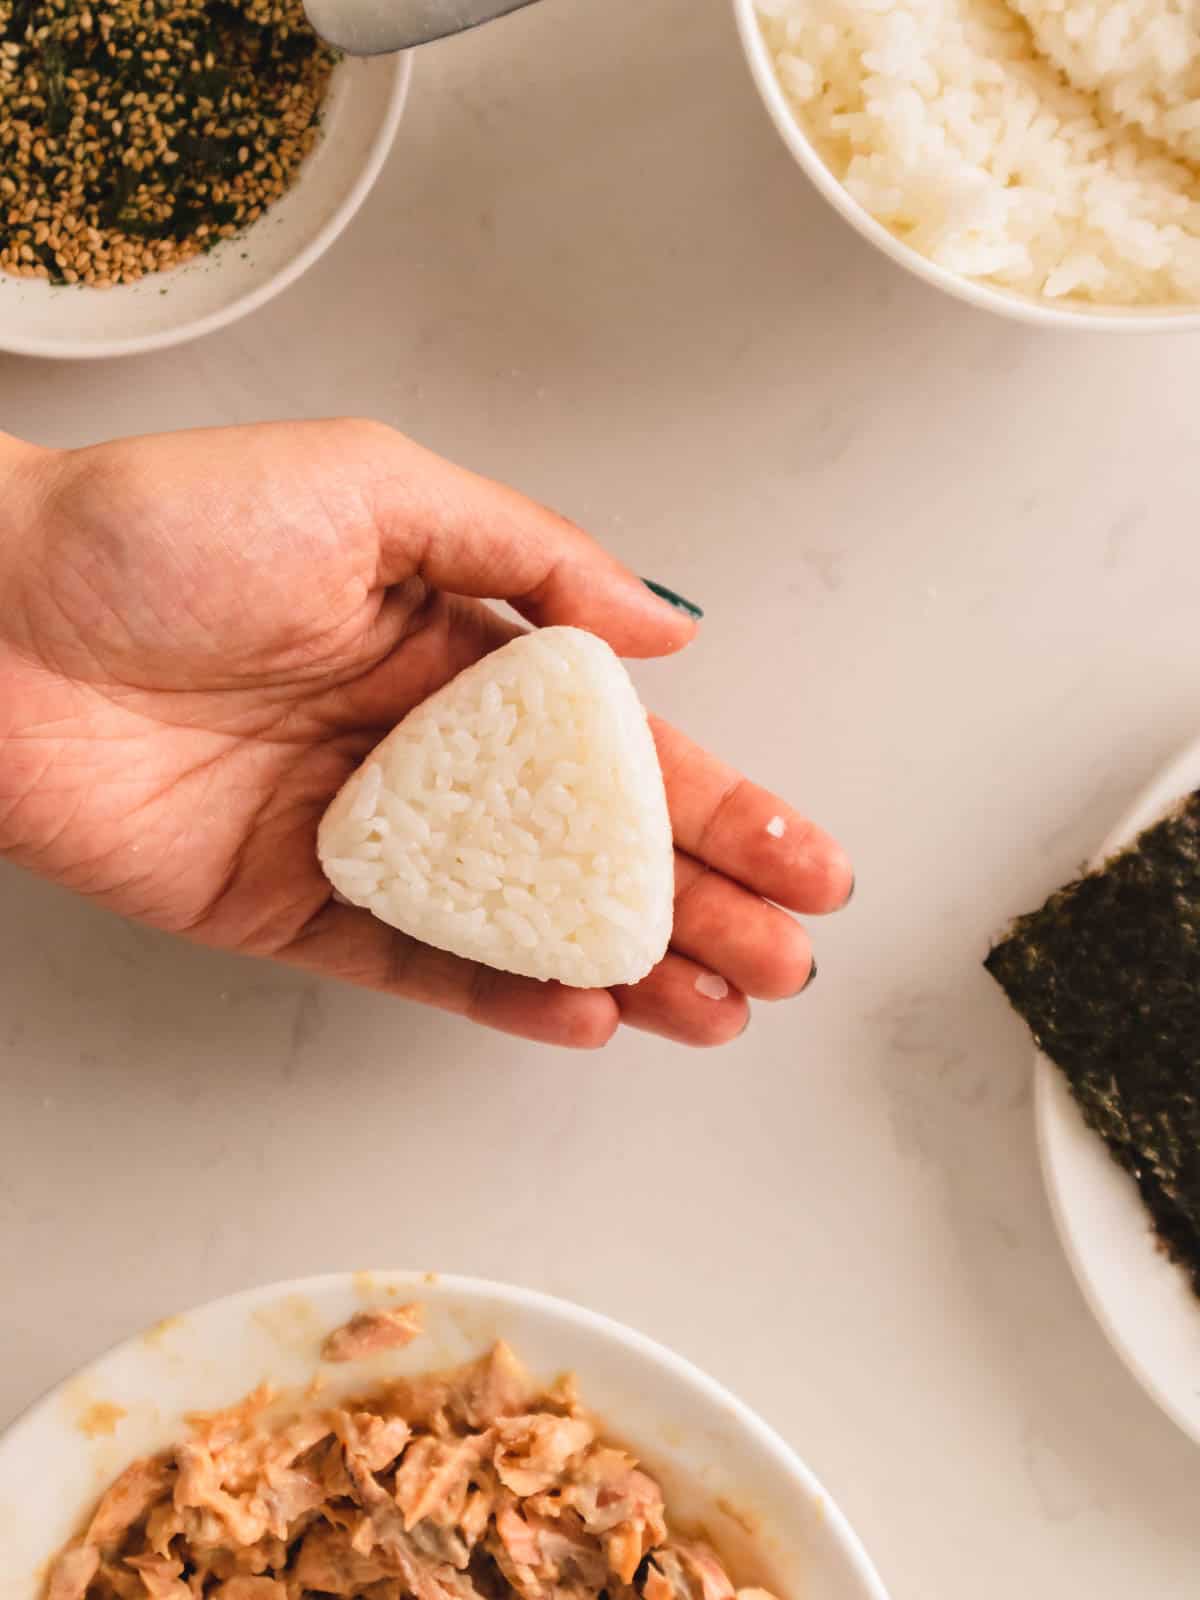
Step 4: Place the top on the mold, then gently but firmly press your Japanese rice ball together. You should feel a bit of resistance. If not, add a little more rice to make sure your onigiri is snug. Gently press the back of the mold to release your onigiri in perfect triangular shape!

Step 5: To a frying pan on medium heat, carefully place the onigiri on the pan & cook until browned & crispy on the bottom. It’s key to wait until they’re browned so they’ll hold together. Try to flip the rice ball as minimally as possible to avoid the grilled onigiri from breaking.

Step 6: Brush soy sauce on the grilled rice balls, flip, & cook until each side is golden brown & caramelized. Keep a close eye so it doesn’t burn. Carefully remove & enjoy immediately!

👩🏽🍳 Key Tips
- Rinse that Rice: Before cooking your rice, give it a good rinse until the water runs clear – it’s a golden rule! This simple step washes away the excess starch that would make the rice mushy & glutinous otherwise.
- Use Warm Rice: Fresh, hot rice is so much stickier than cold rice & less likely to fall apart.
- Onigiri Without a Mold: I like using an onigiri mold because it makes the perfect yaki onigiri every time without much effort, but you can still make it without it. Wet your hands with water, then spread out a thin layer of rice into your palm. Add about a tablespoon of filling to the center, then wrap it with rice into a neat & compact triangle. This method definitely takes practice, so patience is key!
- Keep Rice Off Your Hands: Keep that sticky rice in check! Dip your hands or spoons in water before they get in contact with the rice to prevent creating a sticky mess.
- Flip Gently & Carefully: To help prevent your yaki onigiri from falling apart, wait until the rice has crisped & firmed up & flip the rice ball as minimally as possible.

💭 Recipe FAQs
🥗 More Easy Japanese Recipes You’ll Love
Let’s get cooking!
Get into my secret stash of Goody-Packed Newsletters with meals planned for you & time-saving tips! Want step-by-step videos of how to make my recipes too? I gotchu over at my youtube channel. Aight, enough chatting, more eating!

Easy Yaki Onigiri – Grilled Rice Balls
Ingredients
- 4 oz cooked or canned salmon drained
- 1 ½ tablespoons Japanese mayo
- 1 ½ teaspoon soy sauce plus a little extra for brushing
- ½ teaspoon sesame oil
- ⅛ teaspoon rice vinegar
- ¾ teaspoon sriracha optional
- 1 ½ cup freshly cooked short grained rice*
- Salt
Instructions
- In a medium-sized bowl, combine salmon, Japanese mayo, soy sauce, rice vinegar, & sriracha (if using). Set aside.
- In the onigiri mold, sprinkle a very small amount of salt, add enough rice to cover the bottom of the mold. Then, add about 1 ½ tablespoon of salmon filling in the center, then more rice on top to cover the filling. Note that the amount of rice and filling depends on the size of the mold. For best results, make sure your rice & filling are really packed in.
- Put the top of the mold on top, then gently & firmly press to make rice tightly packed. You should feel a little resistance, but if you don’t, you might want to add a bit more rice so your onigiri is full & tightly pressed together. Press the back of the mold to release the onigiri.
- Heat a large skillet on medium heat. Gently place the onigiri onto the skillet & allow to toast for 2-3 minutes or until browned & crispy. Use a spatula & tongs, carefully flip the onigiri & cook for another 2-3 minutes.
- Brush the onigiri with a little soy sauce on both side & toast cook for another couple of minutes, or until golden & caramelized on both sides. Keep a close eye so it doesn’t burn.
- Remove yaki onigiri for the pan & enjoy!
Notes
- Protein: This recipe uses cooked salmon, but you could swap it out with canned tuna too.
- Rice: The best type of rice to use is short or medium-grain white rice. Japanese short-grain rice (also called sushi or sweet rice) is traditionally used, but any short or medium-grain rice will do! Long-grain or brown rice tends not to be sticky enough.
- Furikake: Furikake typically has seaweed and sesame seeds, but there are various flavors you can try!
Nutrition
Exact calculations may vary. For the most accurate nutritional information, use your preferred nutrition calculator, actual ingredients, and quantities used for the recipe. Please consult with your physician or registered dietitian if more precise nutrition calculations are needed for health reasons.


Delicious recipe. Instead of toasting on a pan, I air fried them (being lazy). It was a great alternative too!
Yay! So glad you enjoyed it and thanks for sharing that air fryer tip! 🙂